
Description
Manage one or more ISC BIND DNS servers without having to login to each server to update zone or configuration files. Just make your changes and build the configs all from the web interface. With fmDNS, you can manage:
- Zone files (A, AAAA, CNAME, PTR, TXT, SRV, NS records, and many more!)
- named options
- Views
- ACLs
- Keys
- Logging channels and categories
- Controls
- DNSSEC keys and zones
Settings can be configured globally for all servers with individual server overrides for when your servers are all configured the same and when they are all unique. You can also import existing named-compatible zone files for faster data entry.
Server configuration and zone files can be updated via cron, http(s), or ssh.
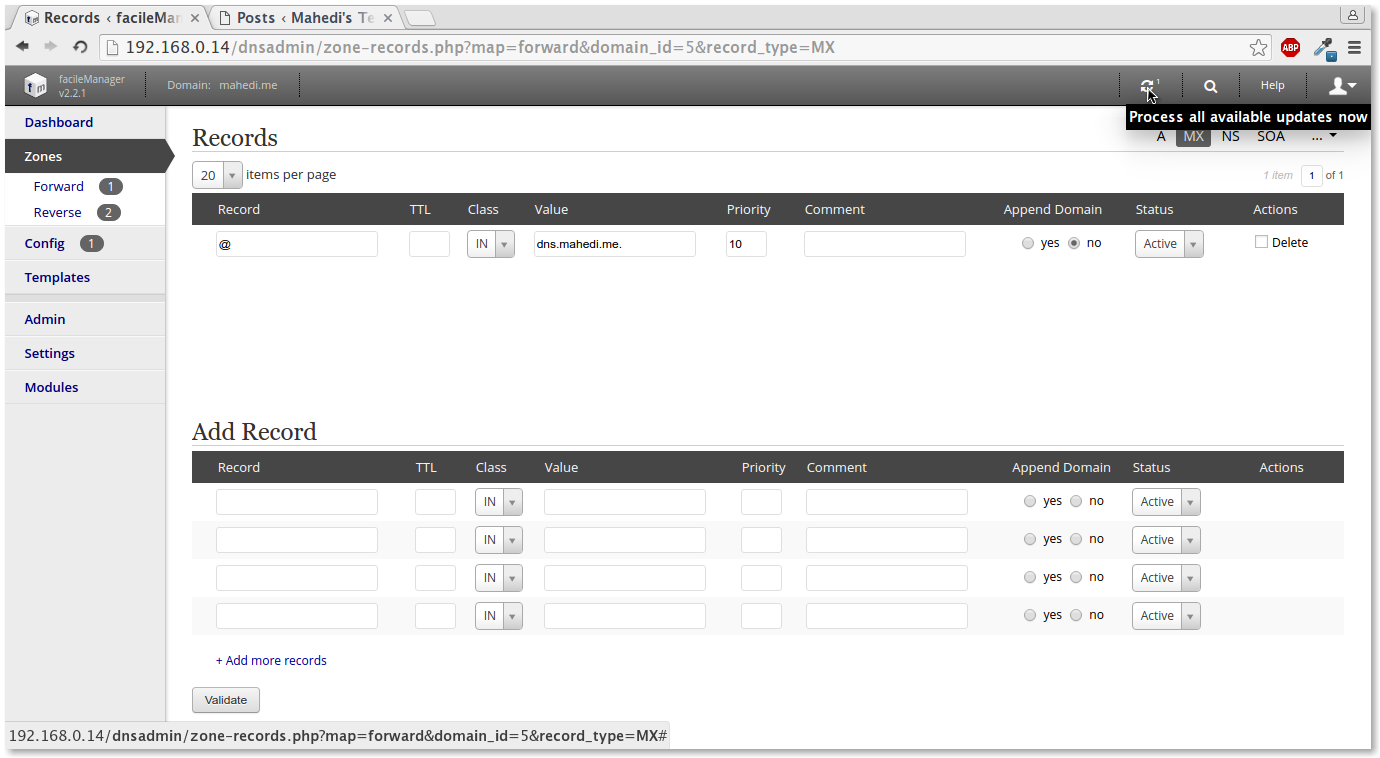
DNS Server Details:
Hostname         : dns.mahedi.me
IP Address       : 192.168.0.14/24
1. Hostname Configuration
Edit /etc/sysconfig/network file to configure hostname:
vim /etc/sysconfig/network
and set such as:
NETWORKING=yes
HOSTNAME=dns.mahedi.me
For RHEL/CentOS-7 Edit /etc/hostname :
vim /etc/hostname
and set such as:
dns.mahedi.me
Edit the /etc/hosts file:
vim /etc/hosts
and set such as:
127.0.0.1       localhost.localdomain   localhost
192.168.0.14    dns.mahedi.me           dns
Check hostname with the following command and see the output:
[root@dns ~]# hostname
dns.mahedi.me

[root@dns ~]# hostname -f
dns.mahedi.me

[root@dns ~]# hostname -d
mahedi.me
2. Software Installation BIND name server
yum install bind bind-utils bind-devel bind-libs -y
Loaded plugins: fastestmirror, security
Loading mirror speeds from cached hostfile
 * base: mirror.steadfast.net
 * epel: epel.mirror.angkasa.id
 * extras: mirror.steadfast.net
 * remi-php55: remi.mirror.ate.info
 * remi-safe: remi.mirror.ate.info
 * updates: mirror.steadfast.net
Setting up Install Process
Resolving Dependencies
Running transaction check
 Package bind.x86_64 32:9.8.2-0.47.rc1.el6 will be installed
 Package bind-devel.x86_64 32:9.8.2-0.47.rc1.el6 will be installed
 Package bind-libs.x86_64 32:9.8.2-0.47.rc1.el6 will be installed
 Package bind-utils.x86_64 32:9.8.2-0.47.rc1.el6 will be installed
 Finished Dependency Resolution

Dependencies Resolved

======================================================================================
 Package           Arch           Version                      Repository       Size
======================================================================================
Installing:
 bind              x86_64         32:9.8.2-0.47.rc1.el6        base             4.0 M
 bind-devel        x86_64         32:9.8.2-0.47.rc1.el6        base             383 k
 bind-libs         x86_64         32:9.8.2-0.47.rc1.el6        base             889 k
 bind-utils        x86_64         32:9.8.2-0.47.rc1.el6        base             187 k

Transaction Summary
======================================================================================
Install       4 Package(s)

Total download size: 5.4 M
Installed size: 11 M

Downloading Packages:
(1/4): bind-9.8.2-0.47.rc1.el6.x86_64.rpm                         | 4.0 MB     00:09
(2/4): bind-devel-9.8.2-0.47.rc1.el6.x86_64.rpm                   | 383 kB     00:00
(3/4): bind-libs-9.8.2-0.47.rc1.el6.x86_64.rpm                    | 889 kB     00:02
(4/4): bind-utils-9.8.2-0.47.rc1.el6.x86_64.rpm                   | 187 kB     00:00
--------------------------------------------------------------------------------------
Total                                                    364 kB/s | 5.4 MB     00:15
Running rpm_check_debug
Running Transaction Test
Transaction Test Succeeded
Running Transaction
  Installing : 32:bind-libs-9.8.2-0.47.rc1.el6.x86_64                            1/4
  Installing : 32:bind-devel-9.8.2-0.47.rc1.el6.x86_64                           2/4
  Installing : 32:bind-9.8.2-0.47.rc1.el6.x86_64                                 3/4
  Installing : 32:bind-utils-9.8.2-0.47.rc1.el6.x86_64                           4/4
  Verifying  : 32:bind-libs-9.8.2-0.47.rc1.el6.x86_64                            1/4
  Verifying  : 32:bind-devel-9.8.2-0.47.rc1.el6.x86_64                           2/4
  Verifying  : 32:bind-9.8.2-0.47.rc1.el6.x86_64                                 3/4
  Verifying  : 32:bind-utils-9.8.2-0.47.rc1.el6.x86_64                           4/4

Installed:
  bind.x86_64 32:9.8.2-0.47.rc1.el6           bind-devel.x86_64 32:9.8.2-0.47.rc1.el6
  bind-libs.x86_64 32:9.8.2-0.47.rc1.el6      bind-utils.x86_64 32:9.8.2-0.47.rc1.el6

Complete!
3. Creating database and user
[root@dns ~]# mysql -u root -p
Enter password:

CREATE DATABASE dns;
CREATE USER 'dnsadmin'@'localhost' IDENTIFIED BY 'Password';
GRANT ALL PRIVILEGES ON dns.* TO 'dnsadmin'@'localhost';
flush privileges;
quit
4. Download packages:
[root@dns ~]# cd /opt
[root@dns opt]# wget http://www.facilemanager.com/download/facilemanager-complete-2.2.1.tar.gz
[root@dns opt]# tar -zxvf facilemanager-complete-2.2.1.tar.gz
[root@dns opt]# cp -r /opt/facileManager/server/ /var/www/html/dnsadmin
5. Change ownership and permission:
[root@dns opt]# chown apache -R /var/www/html/dnsadmin
[root@dns opt]# chmod 755 -R /var/www/html/dnsadmin
6. Configure the web server:
[root@dns ~]# vim /etc/httpd/conf.d/dnsadmin.conf
Alias /dnsadmin /var/www/html/dnsadmin

<Directory /var/www/html/dnsadmin/>

 Options FollowSymLinks
 AllowOverride All

# For Apache = 2.3:
 Order allow,deny
 allow from all

 # For Apache = 2.4
 # Require all granted
</Directory>
And restart web services
service httpd restart
Now open the browser give your URL (HTTP://<your address>/dnsadmin/) and follow the next steps:
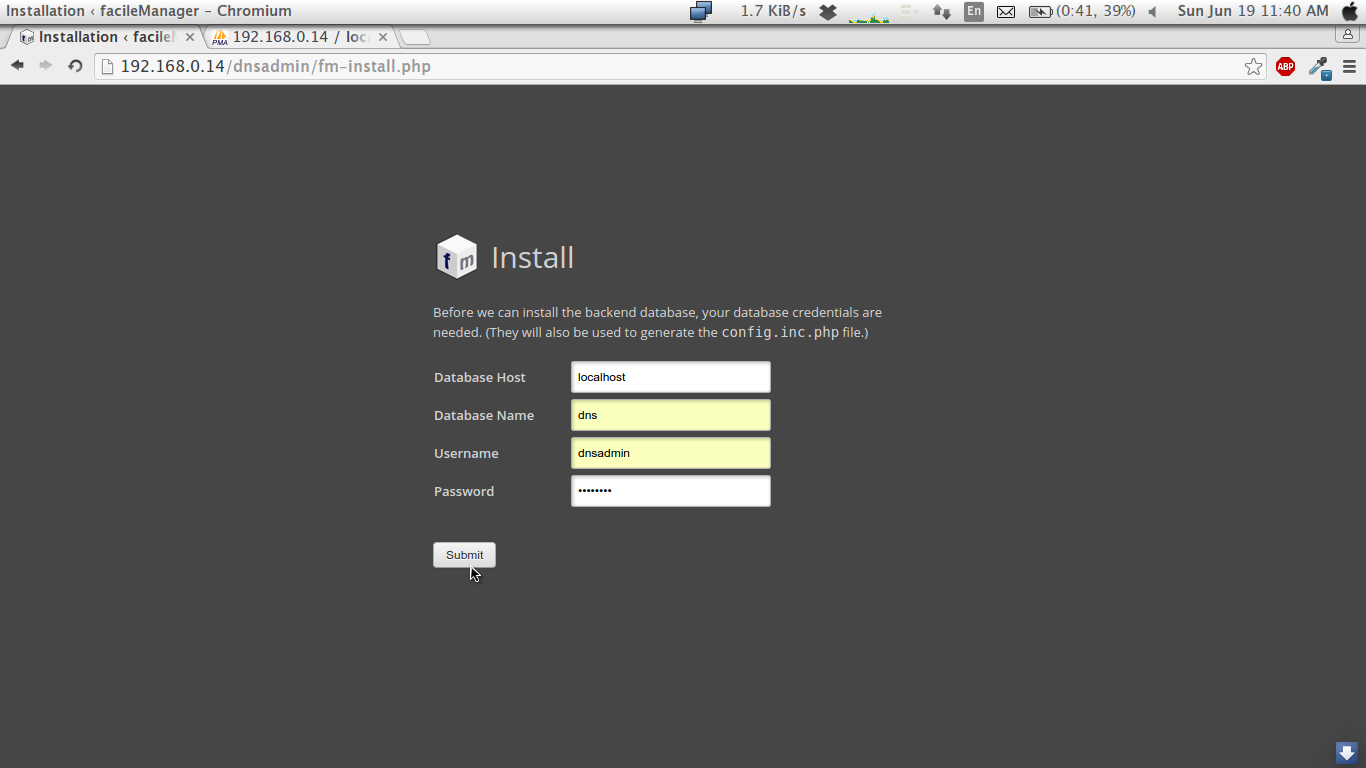
Step-1: Give database credential and press submit:
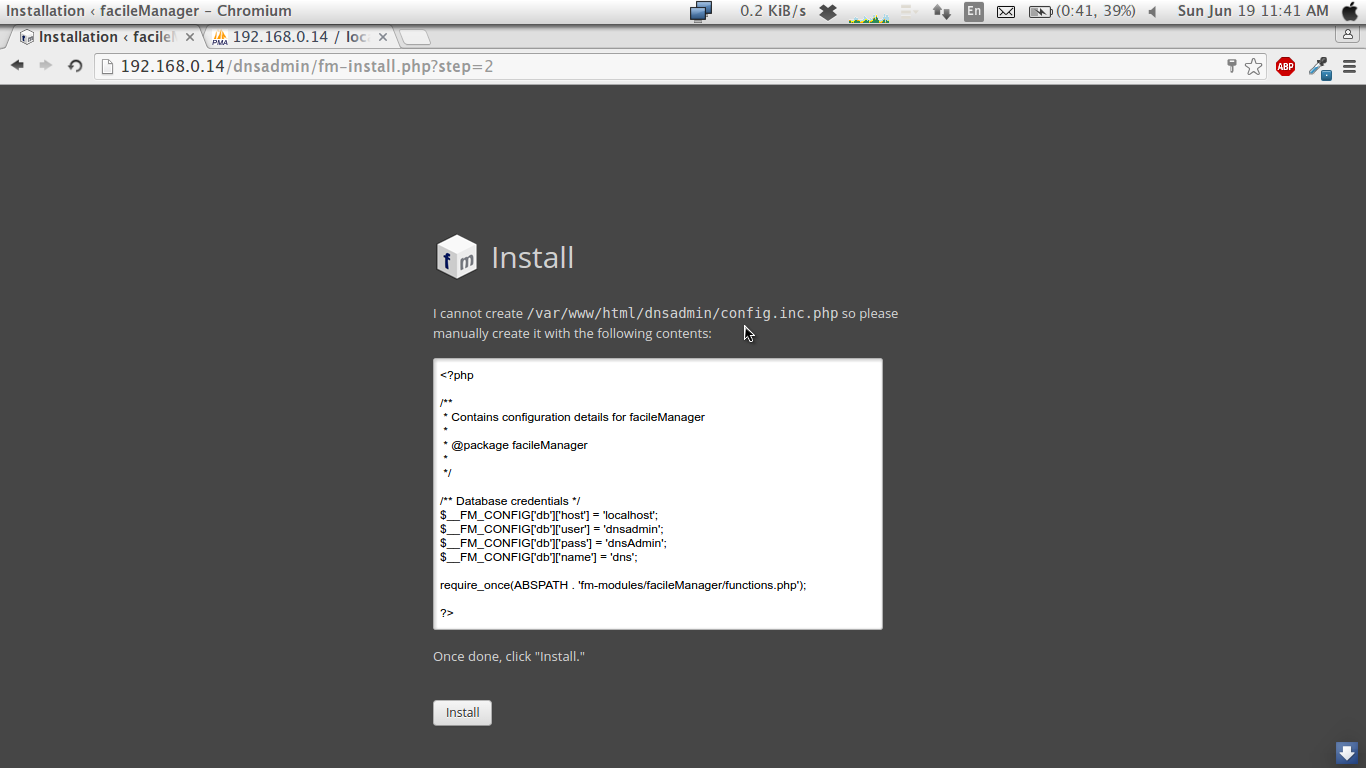
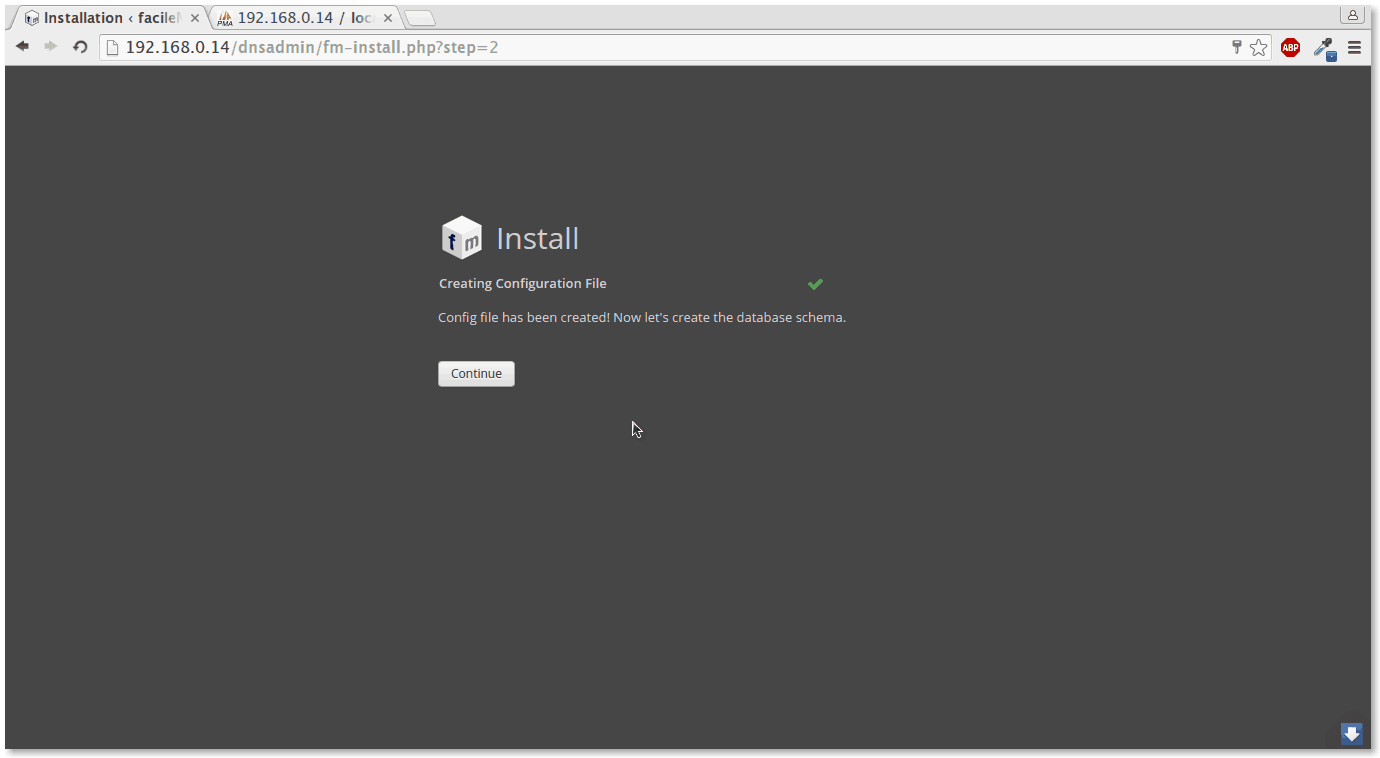
Step-2: Press continue to create database schema:
Step-4: Press continue

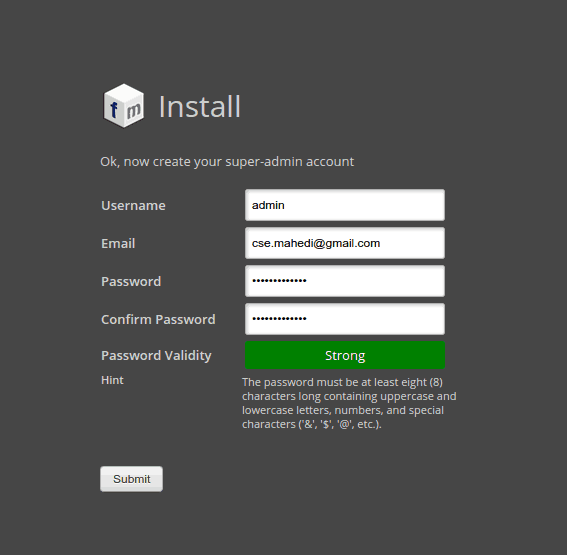
Step-5: Create admin user and give credential for admin user and press submit
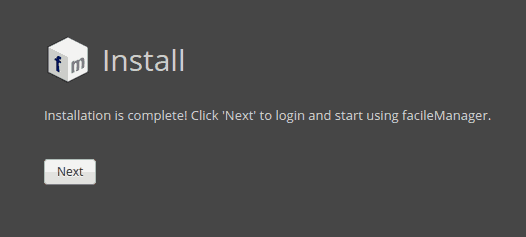
Step-6: Now it’s done! Press next to login panel

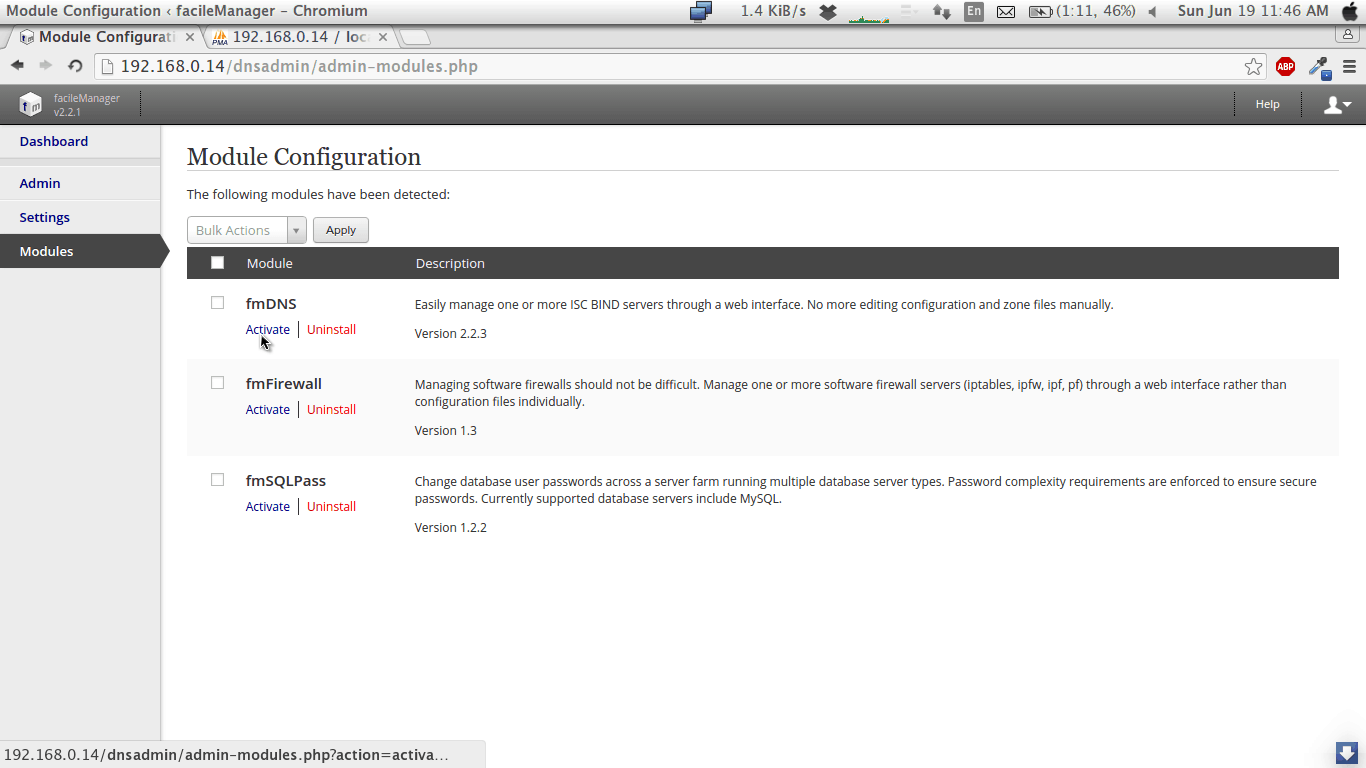
Step-7: Activate fmDNS module in module section:

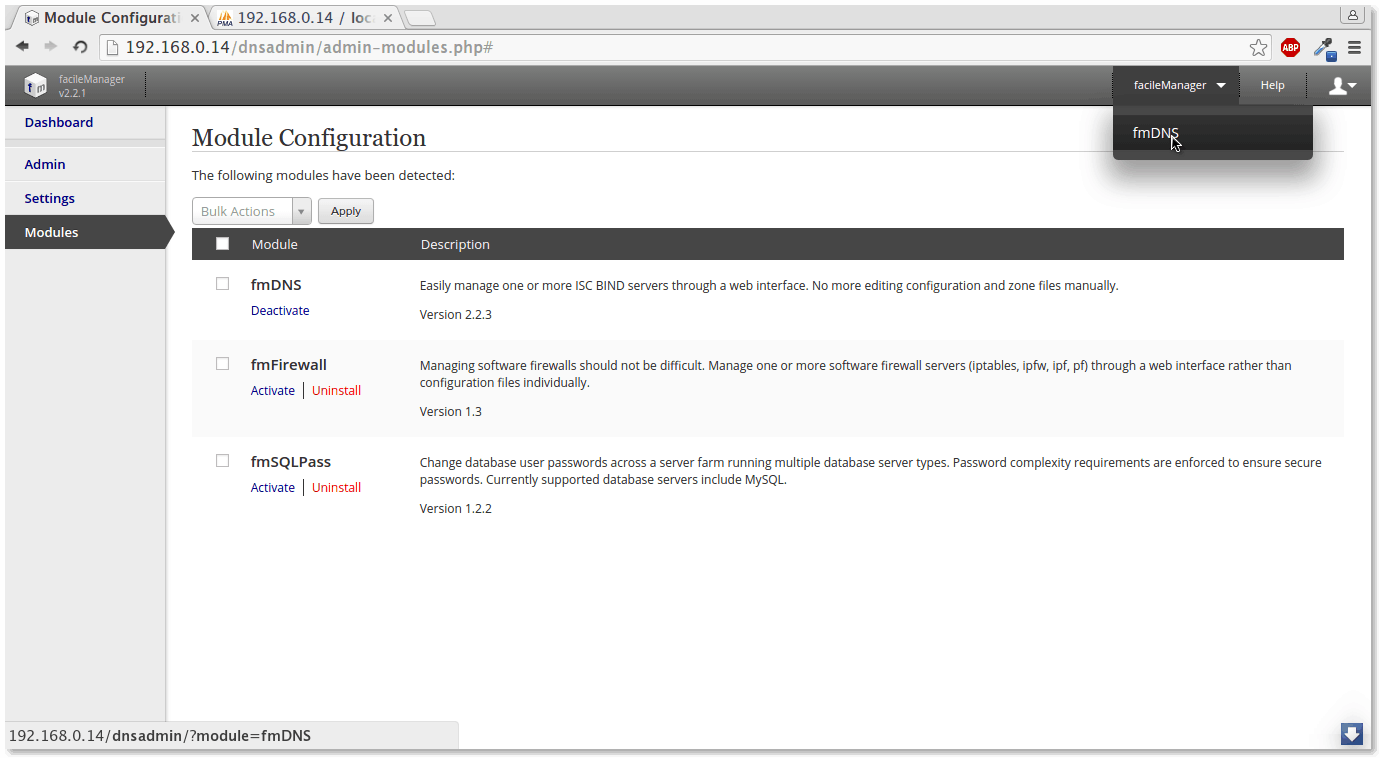
Step-8: Now load fmDNS module from right-top corner option menu:
Step-9: It’s done! fmDNS loaded successfully. Now install the client and configure your domain.

7. Clients Installation
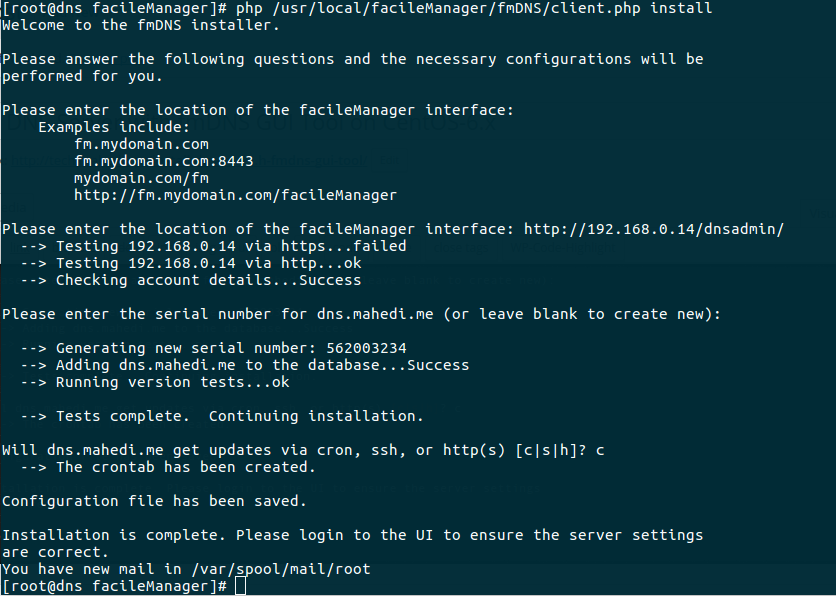
At first copy /opt/facileManager/client/facileManager to /usr/local/ and run php /usr/local/facileManager/fmDNS/client.php install
[root@dns ~]# cp -r /opt/facileManager/client/facileManager /usr/local/
[root@dns ~]# php /usr/local/facileManager/fmDNS/client.php install
Welcome to the fmDNS installer.

Please answer the following questions and the necessary configurations will be
performed for you.

Please enter the location of the facileManager interface:
 Examples include:
 fm.mydomain.com
 fm.mydomain.com:8443
 mydomain.com/fm
 http://fm.mydomain.com/facileManager

Please enter the location of the facileManager interface:
Now give your web-UI access URL: http://192.168.0.14/dnsadmin/
Please enter the location of the facileManager interface: http://192.168.0.14/dnsadmin/
  --> Testing 192.168.0.14 via https...failed
  --> Testing 192.168.0.14 via http...ok
  --> Checking account details...Success
Just press enter or give a serial number for zone update:
Please enter the serial number for dns.mahedi.me (or leave blank to create new):

  --> Generating new serial number: 562003234
  --> Adding dns.mahedi.me to the database...Success
  --> Running version tests...ok

  --> Tests complete.  Continuing installation.
Select the update method how server gets the update from web UI (available methods are cron, ssh, or http(s) [c|s|h]) give “c” for cron its work fine for me.
Will dns.mahedi.me get updates via cron, ssh, or http(s) [c|s|h]? c
  --> The crontab has been created.

Configuration file has been saved.

Installation is complete. Please login to the UI to ensure the server settings
are correct.
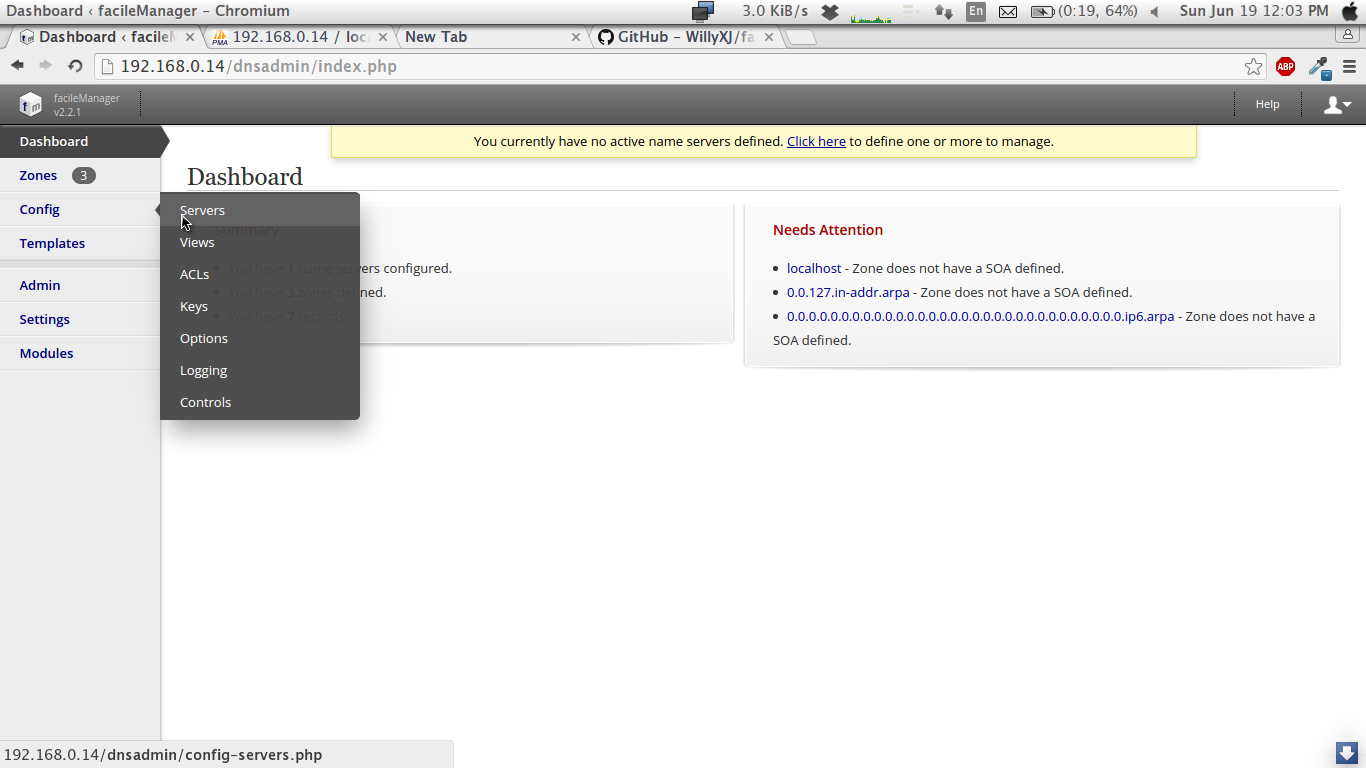
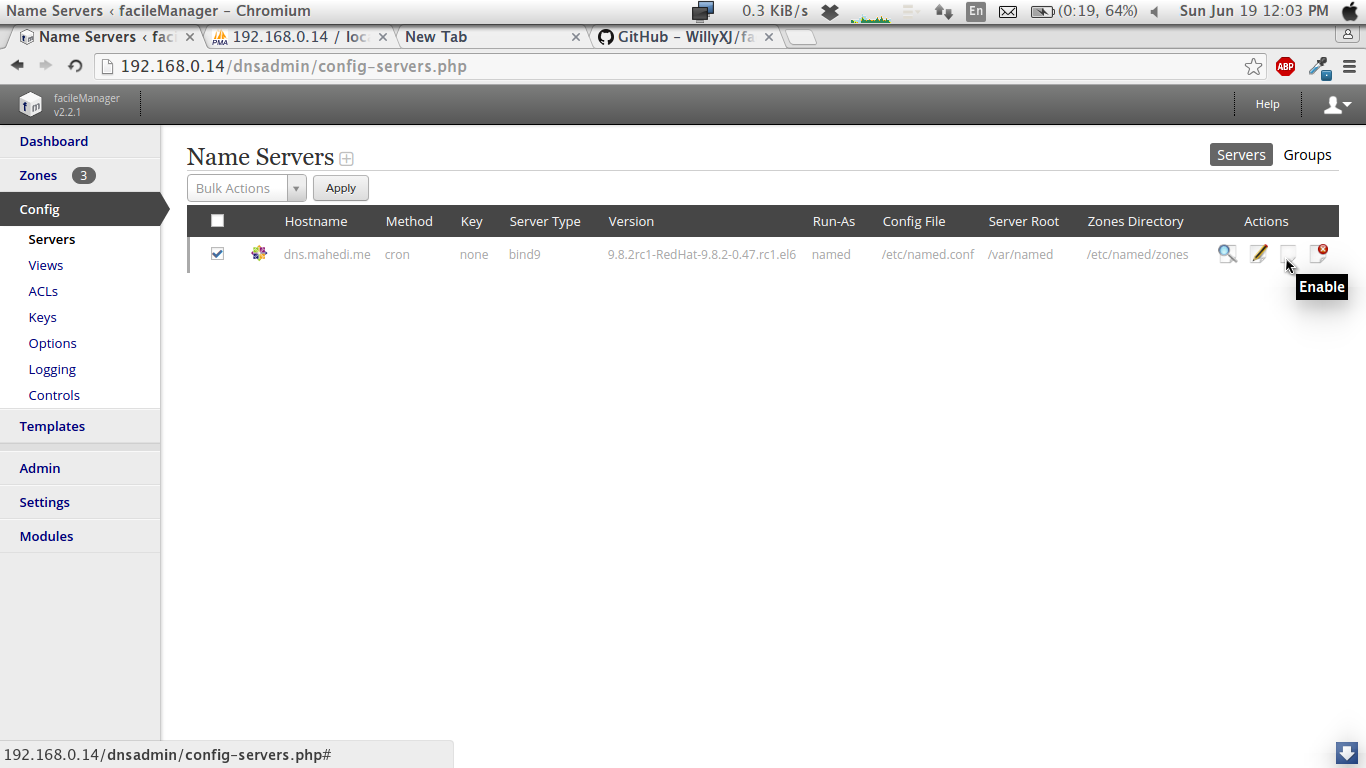
It’s seen fine. Let’s Add server in UI:
Click Enable button to enable server:
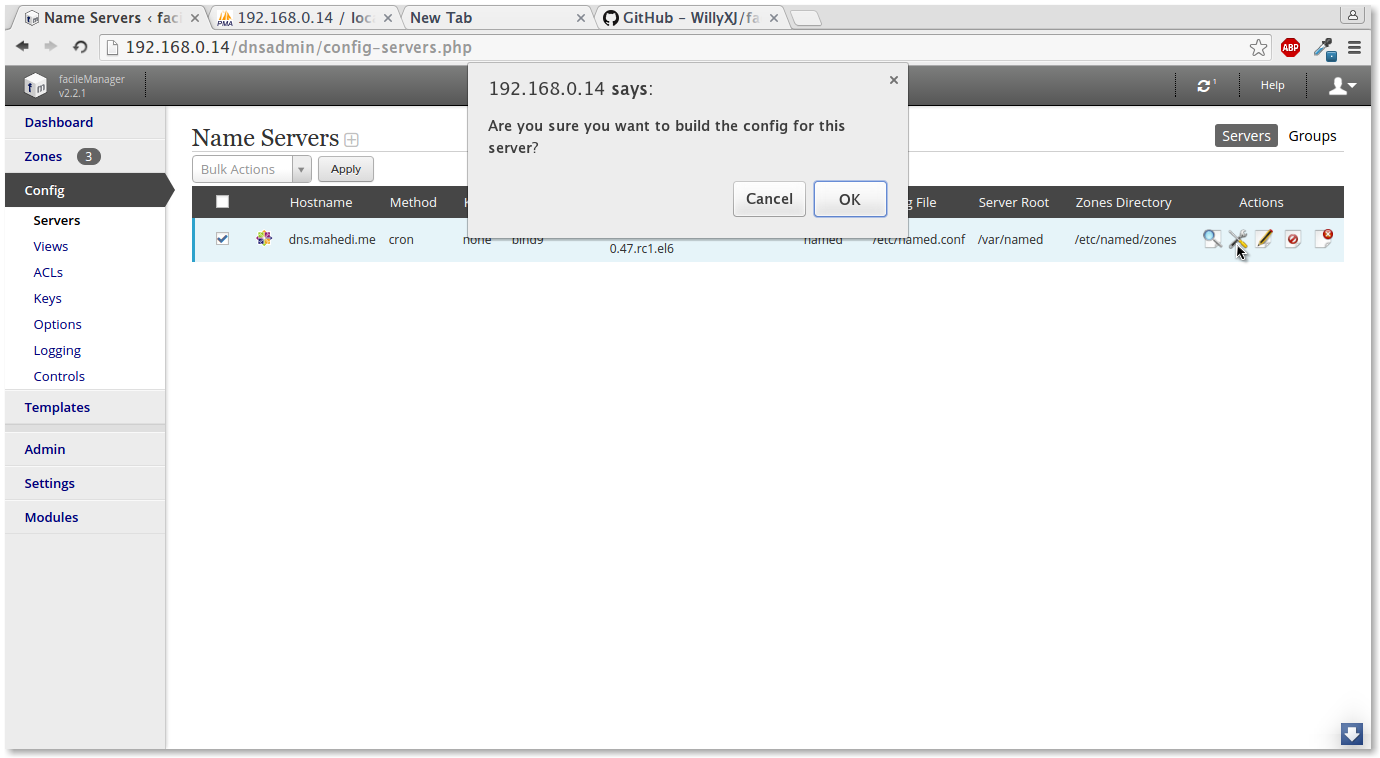
Then click Build configuration to initialize the server:
It’s done. Your UI interface ready communicate with your server and configure your domain in web UI and automatically update in your server.
!Note: Any changed in configuration file in your server will be modified in every 5 minute from the configuration of database. So for every update and modification done in web interface not in configuration files stored in server.
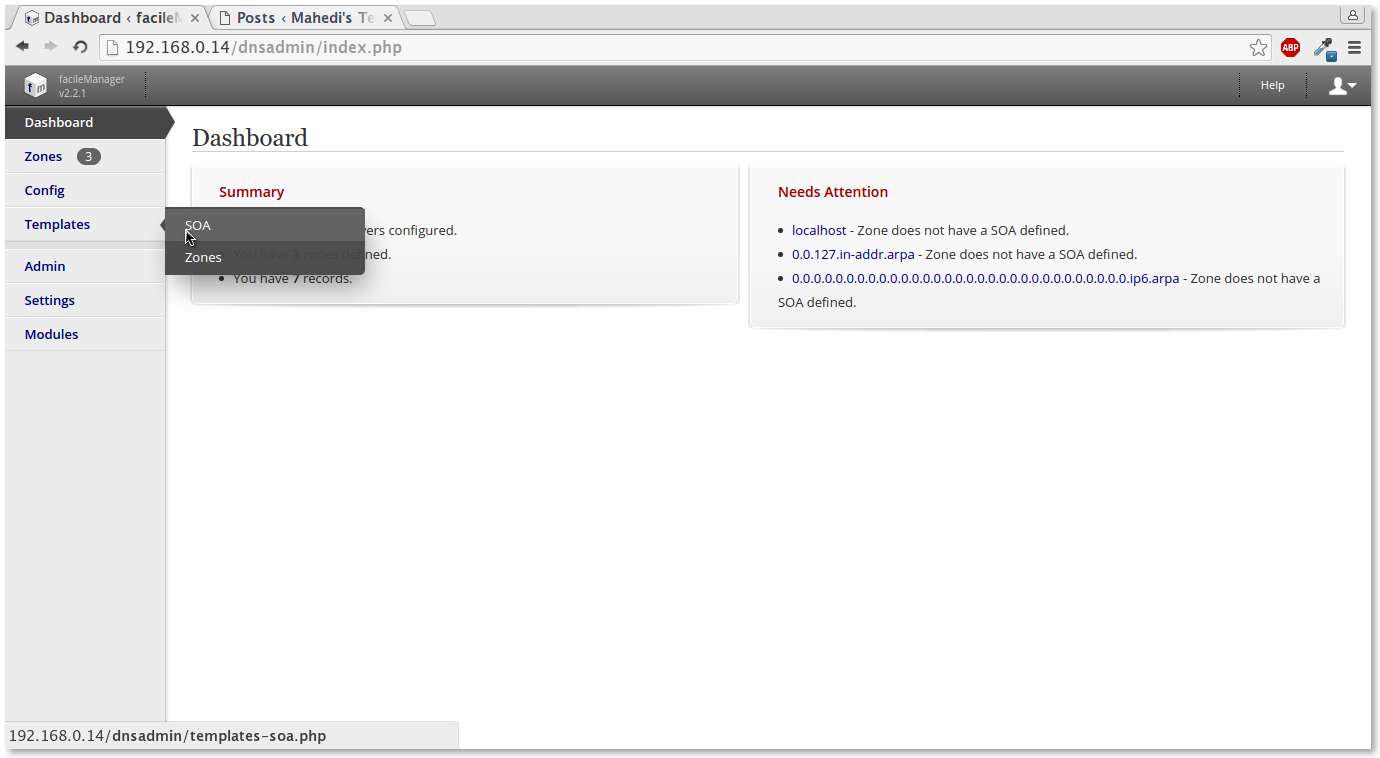
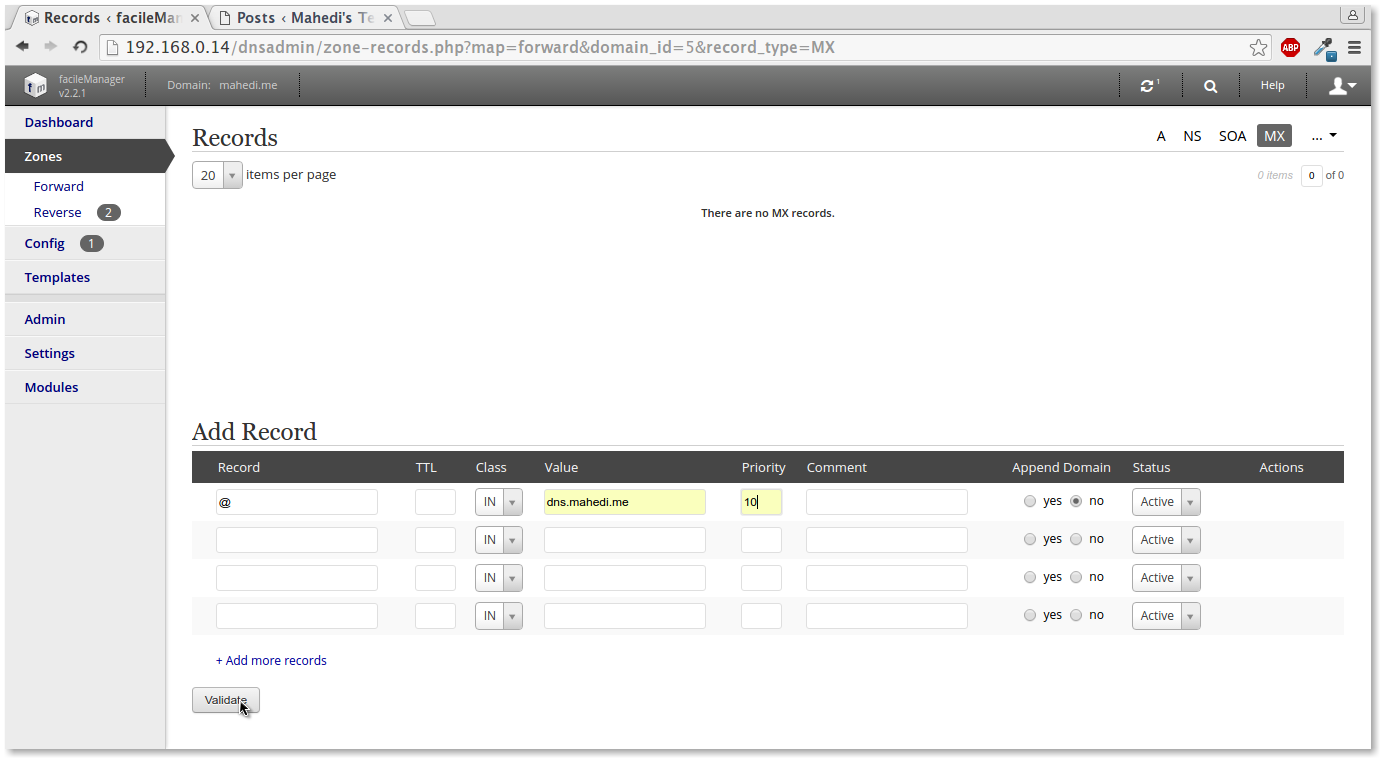
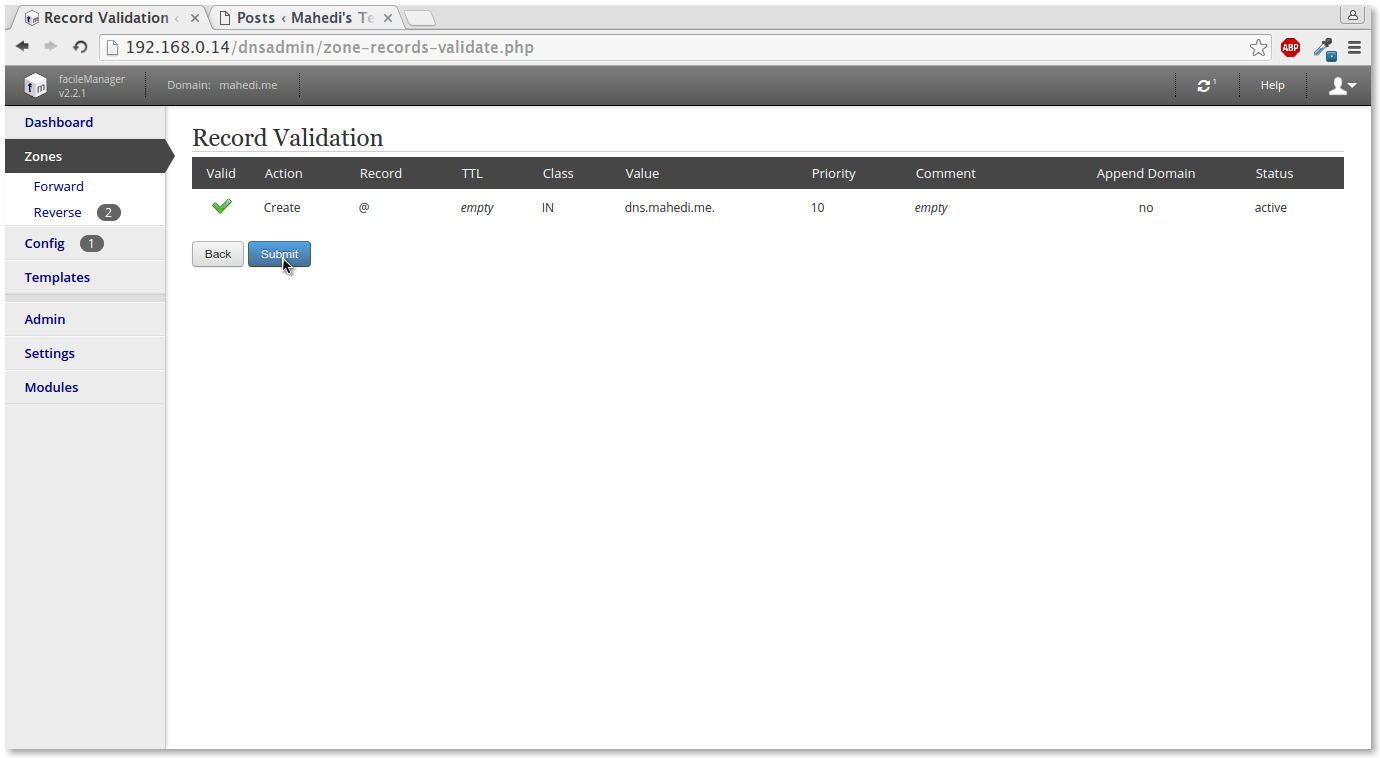
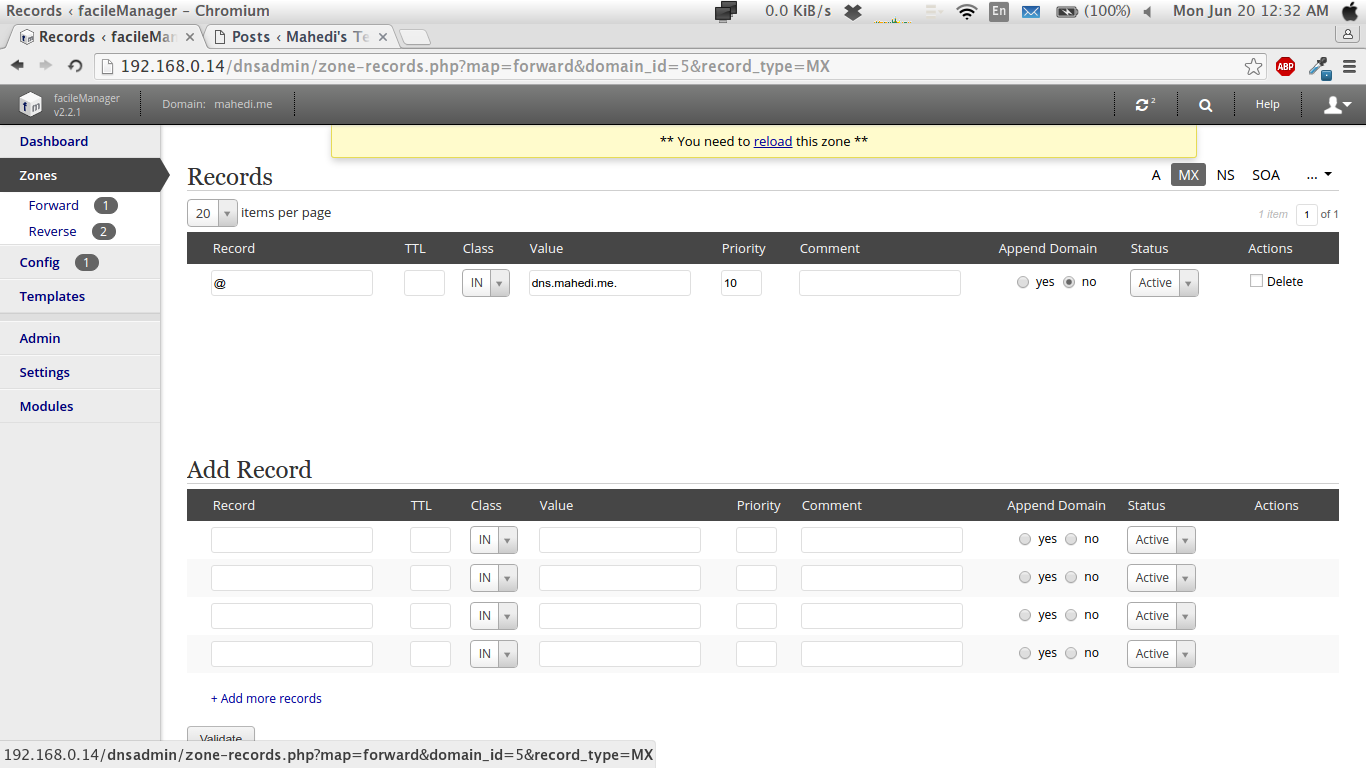
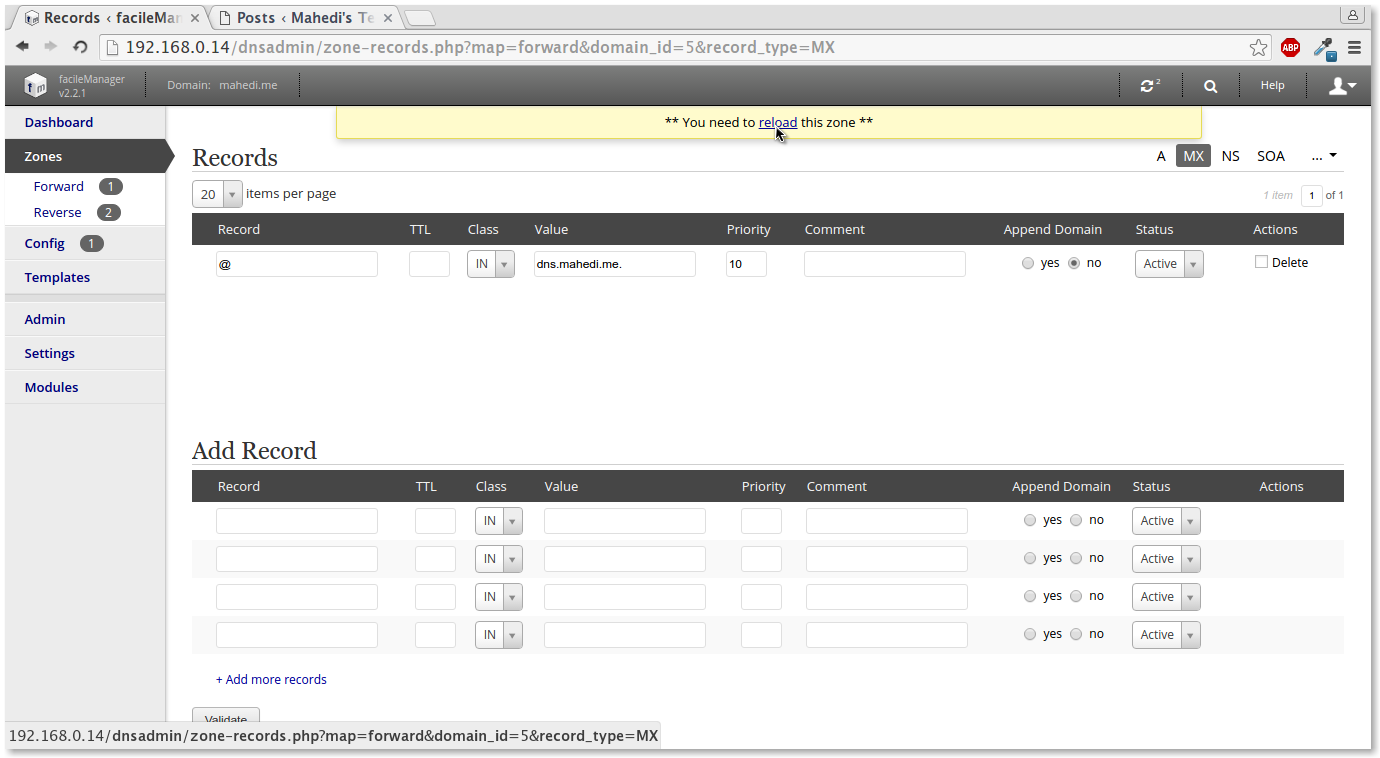
Zone Creation:
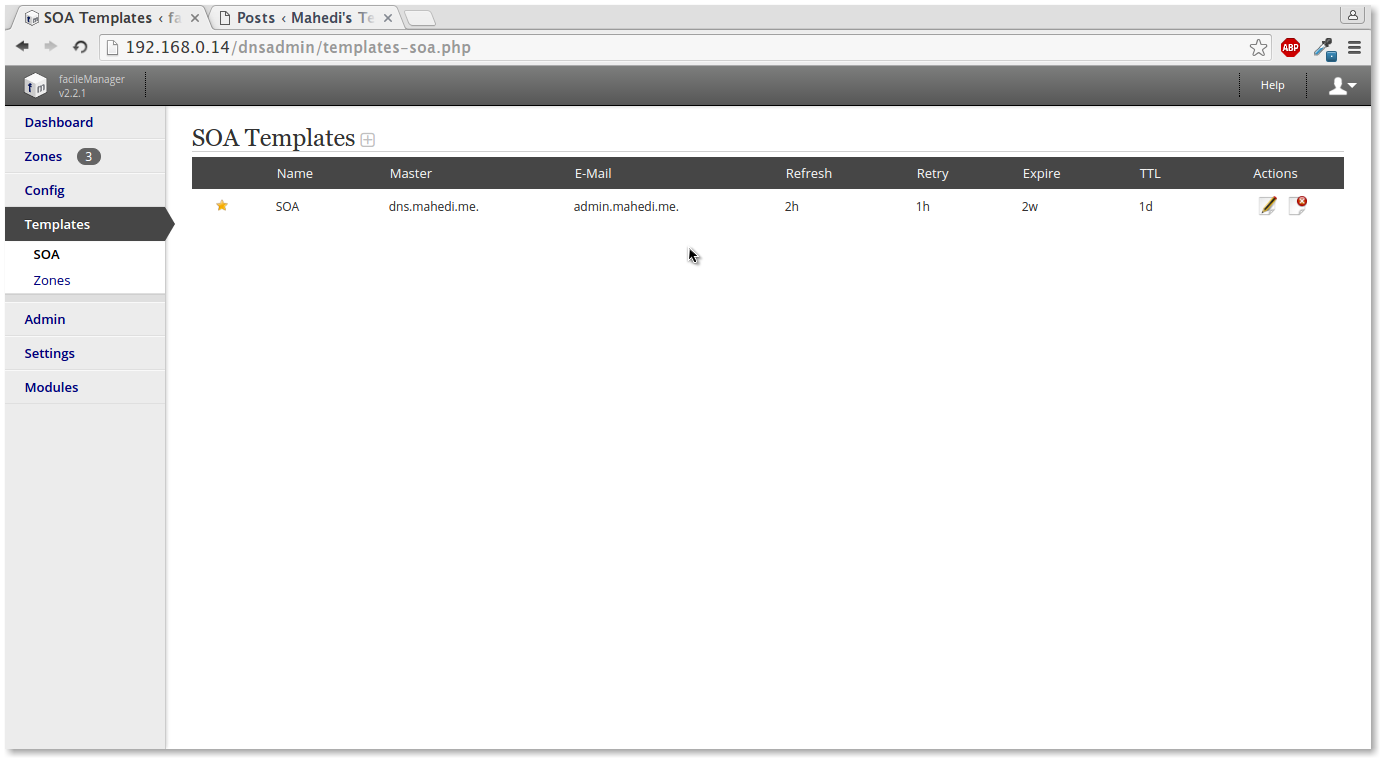
At first, we need to create SOA template that would help you instead of put SOA information every time for every zone.

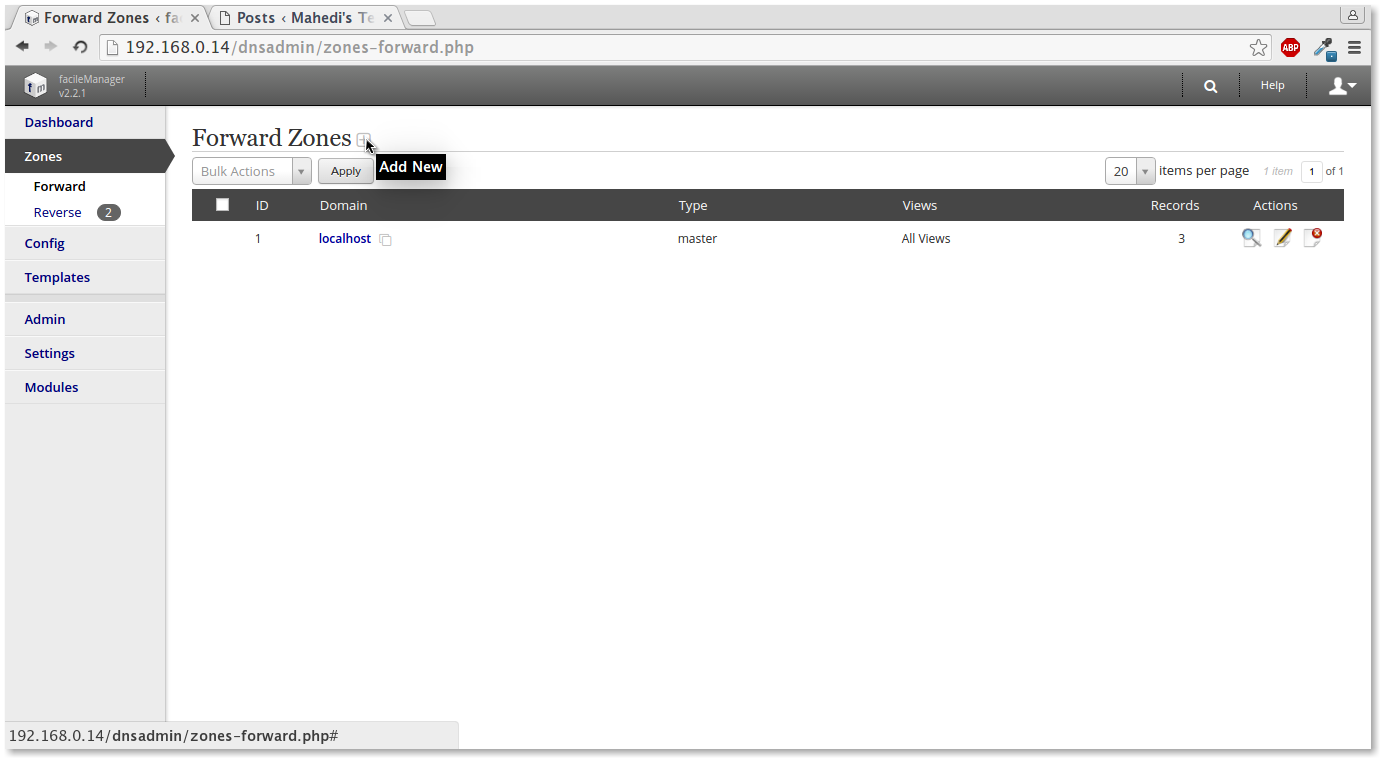
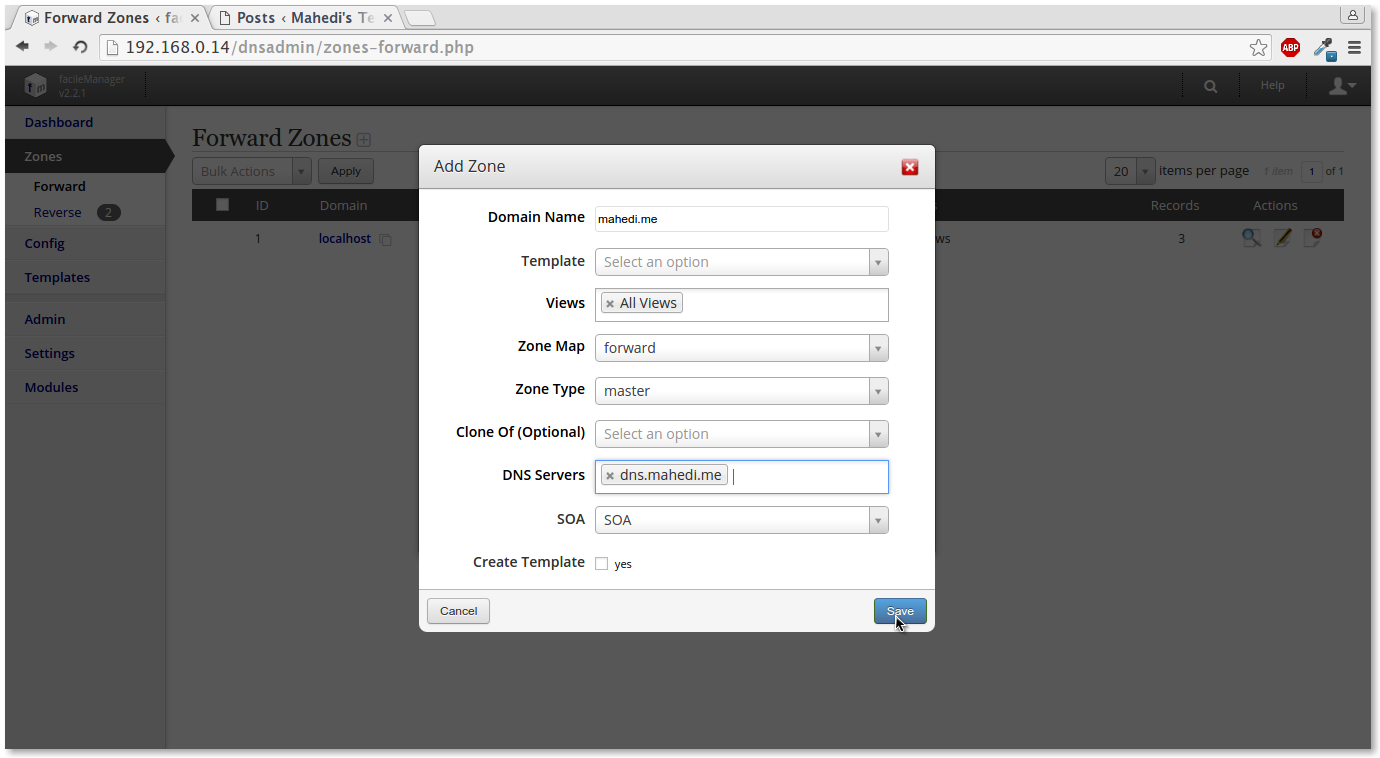
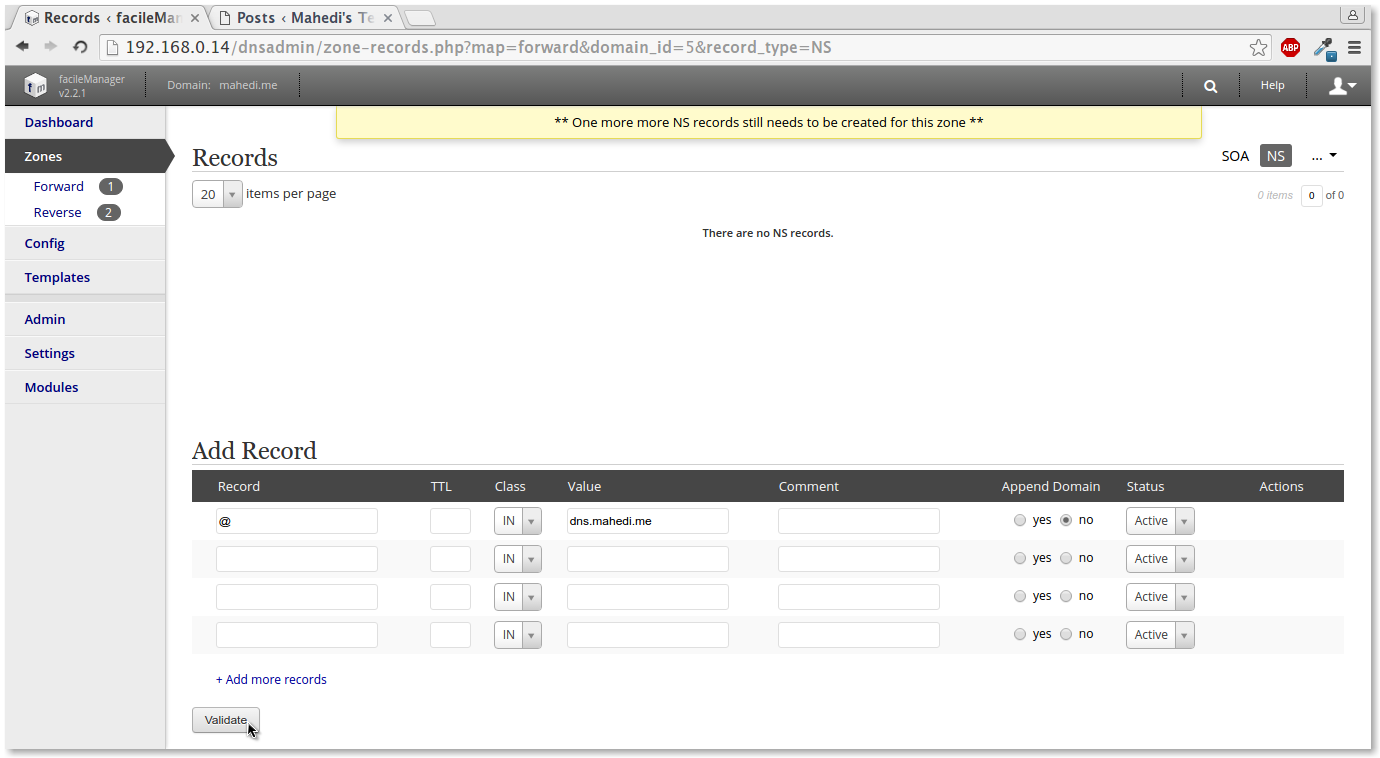
Create the zone for your domain:


Check configuration:
Edit /etc/resolve.conf file and set your server address in Linux client machine:
search mahedi.me
nameserver 192.168.0.14
Now check with different tools. Most famous DNS check tools are nslookup and dig. nslookup is preinstalled in windows and Linux.
[root@dns ~]# nslookup
> mahedi.me
Server:		192.168.0.14
Address:	192.168.0.14#53

Name:	mahedi.me
Address: 192.168.0.14
> set type=any
> mahedi.me
Server:		192.168.0.14
Address:	192.168.0.14#53

mahedi.me
	origin = dns.mahedi.me
	mail addr = admin.mahedi.me
	serial = 2016061903
	refresh = 7200
	retry = 3600
	expire = 1209600
	minimum = 86400
mahedi.me	nameserver = dns.mahedi.me.
mahedi.me	mail exchanger = 10 dns.mahedi.me.
Name:	mahedi.me
Address: 192.168.0.14
> 192.168.0.14
Server:		192.168.0.14
Address:	192.168.0.14#53

14.0.168.192.in-addr.arpa	name = dns.mahedi.me.
Check configuration with dig tools:
[root@dns ~]# dig  mahedi.me +all

; <<>> DiG 9.8.2rc1-RedHat-9.8.2-0.47.rc1.el6 <<>> mahedi.me +all
;; global options: +cmd
;; Got answer:
;; ->>HEADER<

;; OPT PSEUDOSECTION:
; EDNS: version: 0, flags:; udp: 512
;; QUESTION SECTION:
;mahedi.me.                     IN      A

;; ANSWER SECTION:
mahedi.me.              14399   IN      A       192.168.0.14

;; Query time: 1015 msec
;; SERVER: 192.168.0.14#53(192.168.0.14)
;; WHEN: Fri Jan 19 03:16:02 Bangladesh Standard Time 2016
;; MSG SIZE  rcvd: 54


hi, after install apache mysql and other progress when i try to go in folder http:/myip/dnsadmin i have a 403 forbidden error, can u help me with this?
Hi,
just guessing out of the blue, but did you assign the correct permissions? (www-data in newer distros) and set AllowOverride?
Best, Christian
Hey I tried using this but the webpage got stuck when I try to login what might be the possibilities or am I going wrong please help
great tool 🙂 made reviewing and understanding Bind alot easier for me,